Sivut

Showing posts with label doll clothes. Show all posts

Friday, 16 August 2019

Regency chemisette for a doll


There is 21 photos in this blog post. So I try to be short with words.

I have been blogging about 1900th century fashion in my Finnish blog, and in the middle of all the information I realised that Roisin's spencer outfit needs a chemisette. So. I had to do one. Immediately. (It took a week to sew this tiny thing, so it wasn't that immdiately finished.) Luckily I had a perfect fabric (thanks to my Instagram friend Eva, who sent me some months ago this amazing cotton organdy) and Janet Arnold's Patterns of Fasion 1 here at home, so I had everything one needs.

I used this handy ruler for making pleats. I first made 5 mm fold with the ruler and then I made a pleat from that with my fingers. If this makes any sense? I'm not sure if I could explain that even in Finnish...

Anyway. Very satisfying job.

At this point I was like wow, it's soon finished. Ha ha ha.

I'm not quite sure if I understood Janet Arnold's instructions right. But I anyway ended up (after thinking it three nights) (it's nice to have something nice to think at nights when you can't sleep) finishing the neckline with a neckband and then adding the ruffles on it. I think it was the only way to keep the neckruffles to stay in upright position, even though it meant extra fabric on neckline. (Luckily the fabric was so lightweight!)

After gathering the fabric I pleated it with my fingers and then ironed it. I think this was the easiest way to do it. Not most precise way. But easy.

This far everything was easy. Then I decided to do also next step in easy way. But this time I made wrong decision. I blame brainfog or headache or low suger levels or my cat or husband or room temperature or whatever, because I normally NEVER take a shortcut with basting. I mean. I'm the biggest friend of basting. I always do it (if there is something to baste). And one thing I CERTAINLY do is that I always secure pleats with basting. But this time I decided to not.

I thought I just pin these ruffles together and then stitch them together and then attach them to a tape.
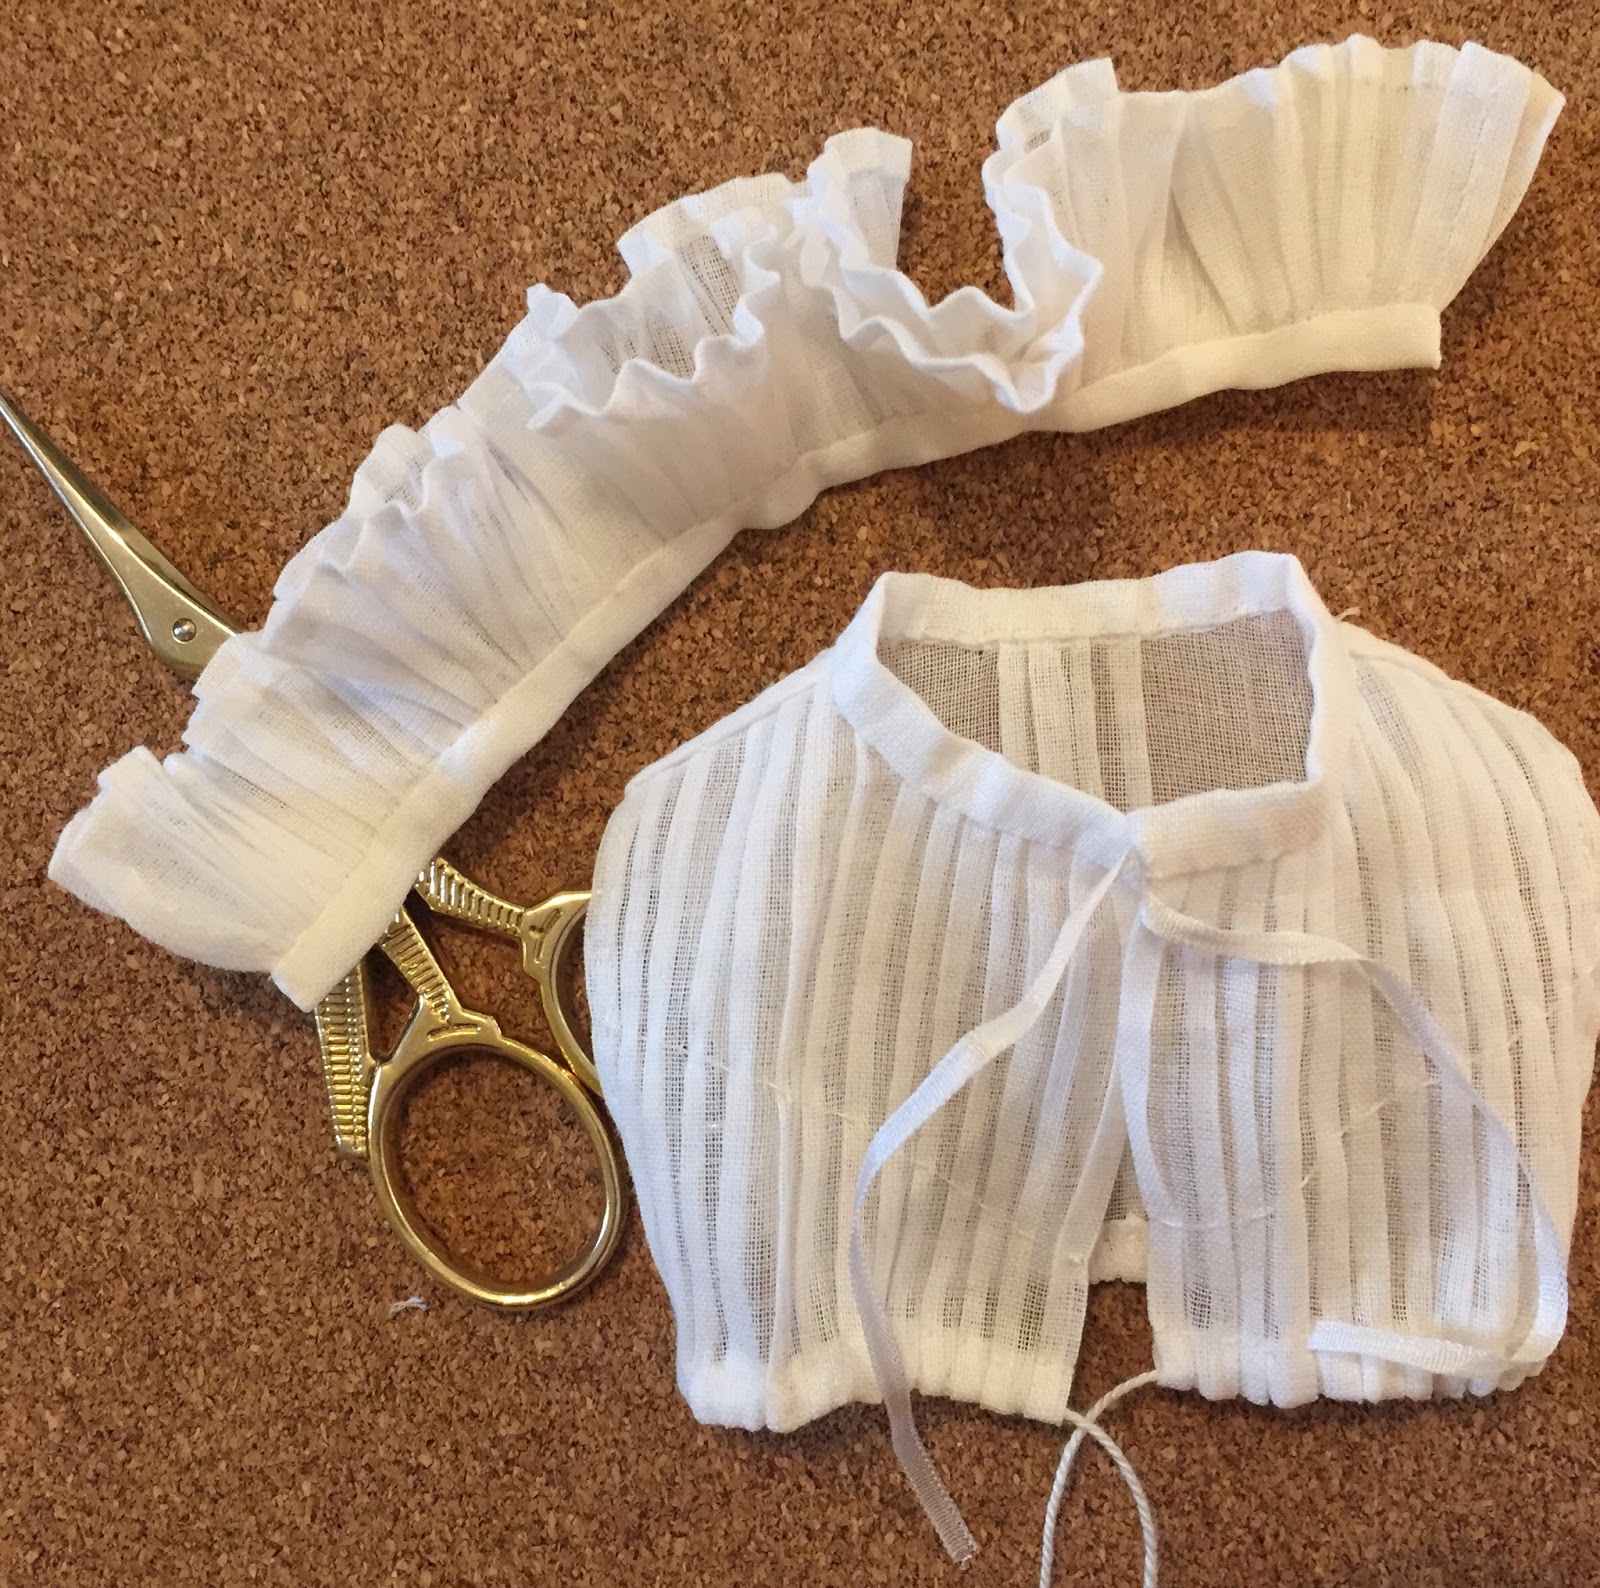
Ok. I did it so. But it was so painful. It did hurt my brain and nerves. Other of the ruffles was bit longer than an other (or an other was a bit shorter than an other) and it was so difficult to make them match when the pleats were sliding back and forth. After stitching the ruffler together it was easy to sew it on the tape. And then I attached the whole system to the neckband.

(Janet Arnold's Patterns of Fasion 1 on the backround.) The result is really cute. But I feel a bit uncomfortable with the fact that the pleats on the ruffles are not even. I mean, there is less volume of fabric on some places and more on other places. But I try to accept it. I think I manage.


I washed my hands all the time, but yet it looks as I had sewed with sticky fingers :D

Look how pleased she is smiling.


I have to sew a dress for this chemisette. I think this gown is not so nice with it, and in other Roisin's dresses  there is perhaps too high neckline for a chemisette. (I just tested those false sleeves quickly. I didn't want to waste my time and energy with putting them on, so that's why their upper ends are over the sleeves, not under.)
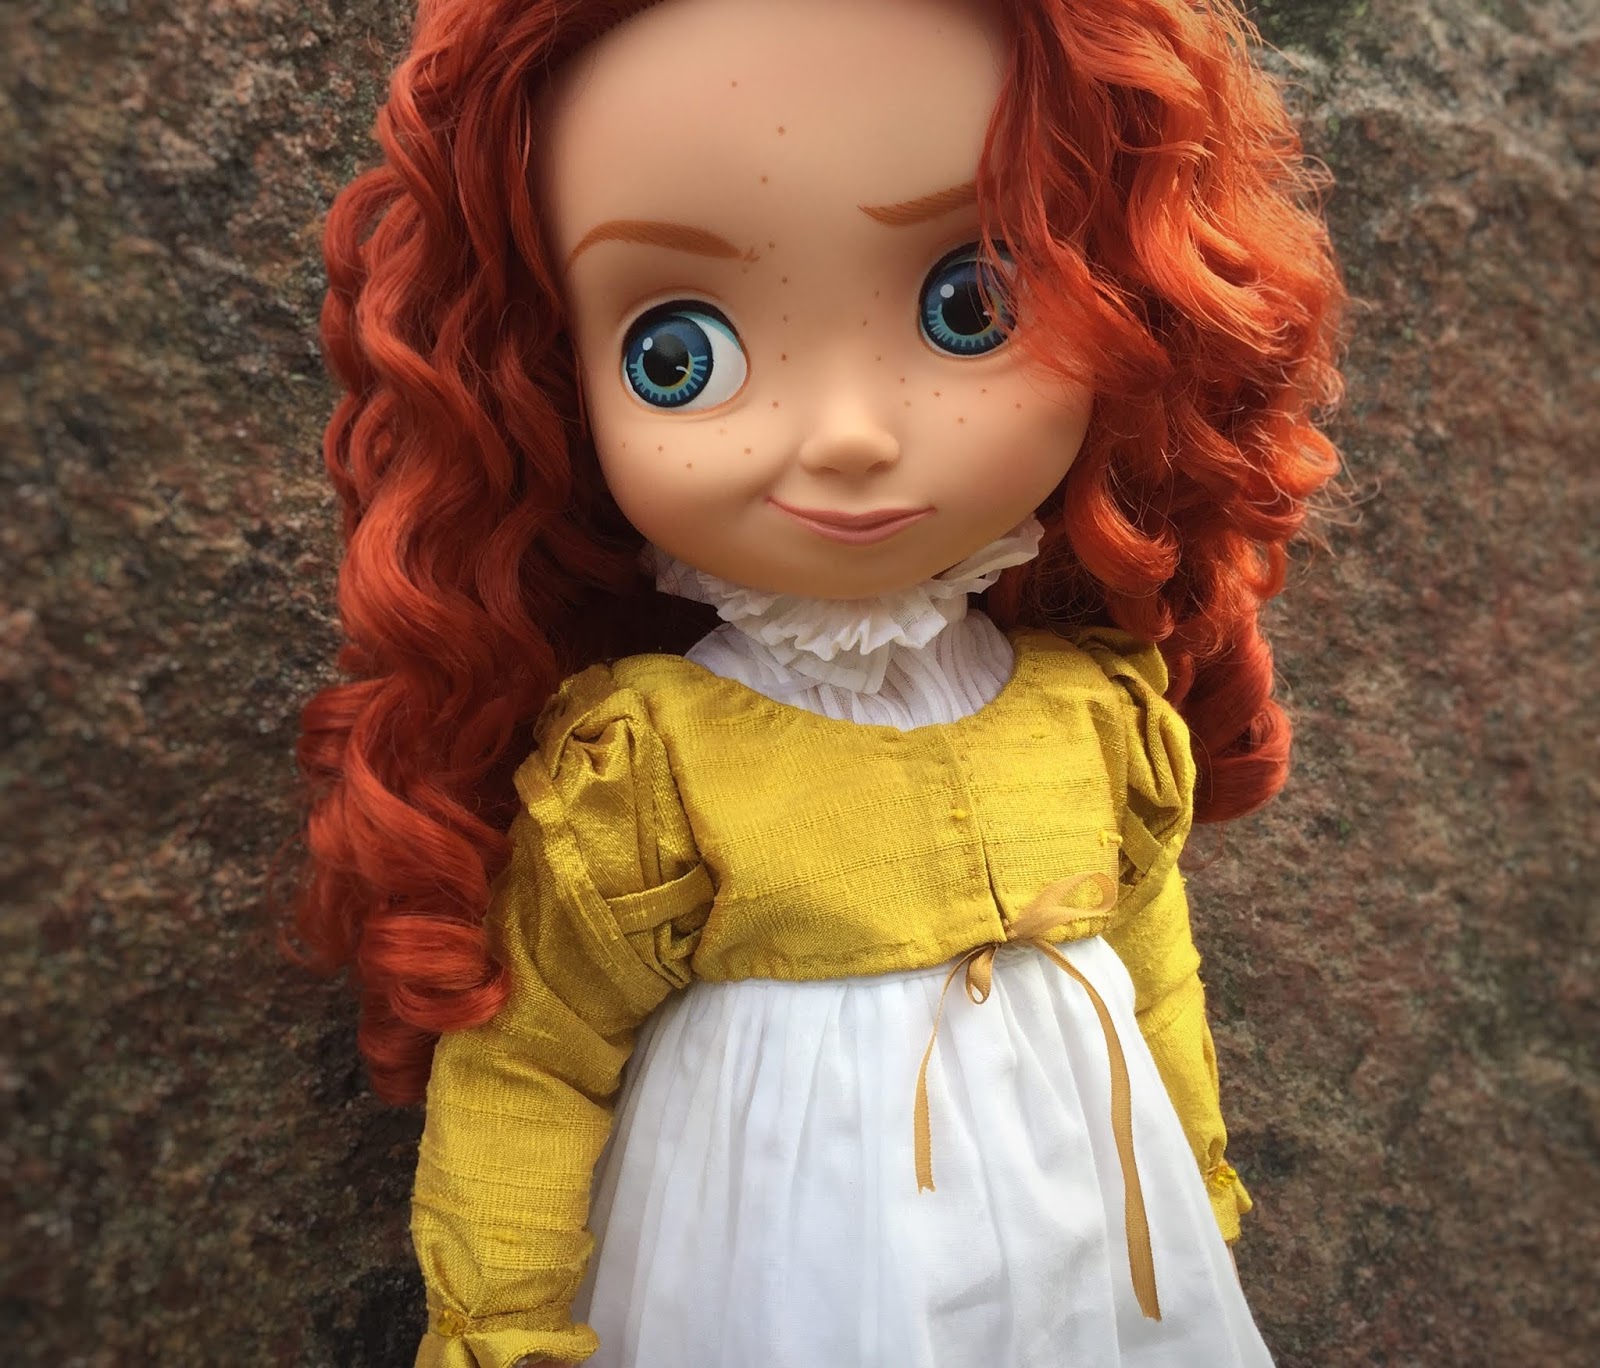
And here it is! With the spencer. (Well, you have seen it in the first picture already.) I think these look really good together.

Roisin needs a proper bonnet. I made this one many years ago and even though it's cute (in my opinion), I think it's not a good pair with the rest of the outfit.

I want to make a bonnet with a straw brim and fabric crown. My first thought was that the brim must be light colour, like vanilla or natural straw or white. Or perhaps golden brown. But now that I'm looking at the photos of Roisin, I'm not sure anymore. Is light colour a bleak choise? Wouldn't some stronger colour (like in the photos here) be more interesting?

And after next photo I'm finished. Bye!


Poldark inspired wool jacket for a doll


Some words and photos about making this jacket.

Wool fabric which I used for the jacket is loosely woven, so I used very tight woven cotton for the lining. As wool jacket with all the seam allowances is quite bulky thing for a doll to wear (even for Diseny Animator doll), I decided that I won't use stays under the jacket. I mean. The doll won't wear stays. But the cotton lining luckily gives a bit 1800th century(ish) posture or profile for the jacket.

 My present assistant, Astrid, has some issues with sewing. As lovely companion and assistant she is, there is this problem that she loves wool. Like. She loves to eat it.

Yes. Nice. Not.

I cutted an other of the back pieces and an other of the front pieces again. I left an other of the back pieces as it was and hoped I can hide the hole (made by wool eating monster) into seam allowance.

I'm still learning totally basics. Like should the short and tiny skirt part of the jacket (or should I call it flounce?) be made from a curve or straigth piece? After tests (made from cheapest felt) I realised that obviously from a curve piece.

I decided to take a risk and attach the skirt-flounce-thingy to the jacket's lining straight from it's raw edge. All kind of folds would have meant too much bulkiness to the waist.


It doesn't look totally neat, but it doesn't look that bad either.


This was my first time working with wool fabric. I was first very nervous, I was sure that it will tear to pieces (well, to yarn) in my hands. But no, it worked so nicely. It was easy to mold and it was overall so very lovely to work with.


Friday, 25 May 2018

Renaissance Inspired Cinderella Gown for a doll, part 4: The Drama Queen

The first three posts of this gown you'll find under the label Disney Style Renaissance Inspired Cinderella Gown. The first post was about sewing the dress, the second was about the shift and in the third was photos of finished gown without a doll. This post is maybe a bit more about Flavia The Drama Queen than about the gown itself.


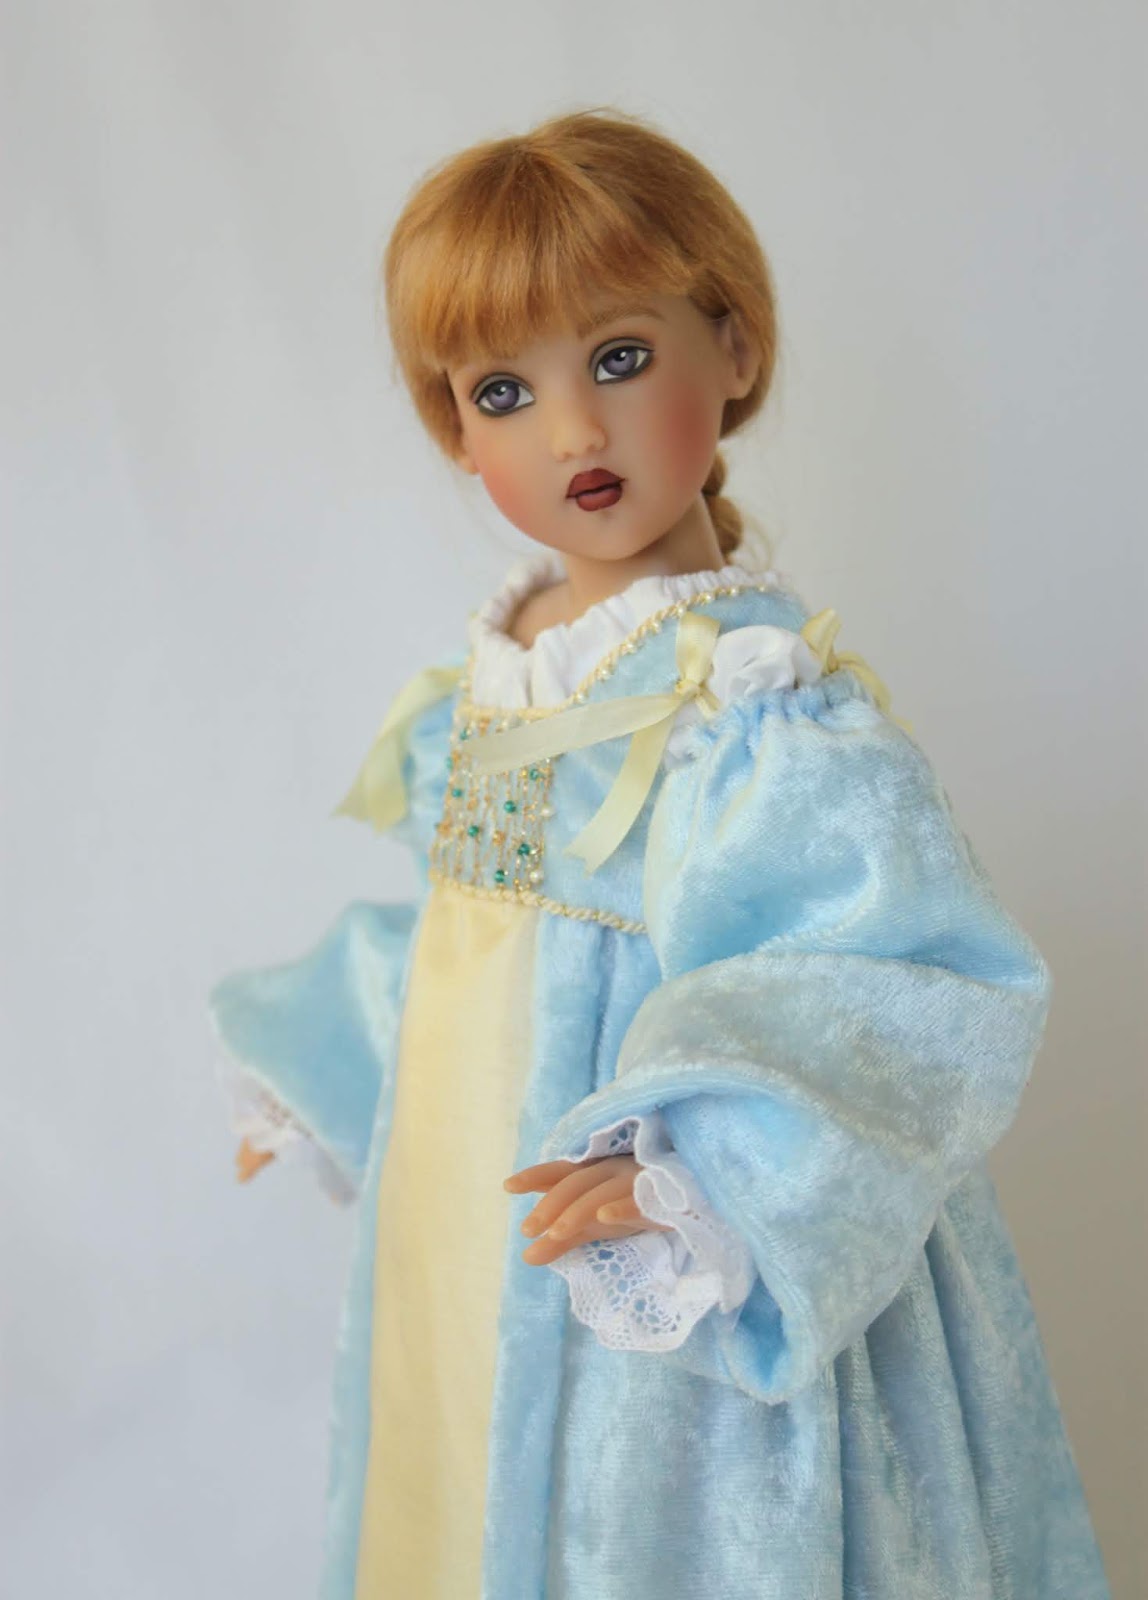
 She is such a theatrical girl! (Sleeves with organza ribbon.)


Ok, Flavia, this is maybe a bit too much.


 I'm happy that I finally got silk ribbon for the sleeves.


Now that Flavia has done so much theatrical posing she feels that she is able to do some neutral poses to present the gown.


And here we are again. Although this is quite moderate theatricality. (She is quoting Shakespeare. Romeo and Juliet, I guess.)


 P. S. Did I tell you why it's a Cinderella gown? Well, of course because it's blue.

Renaissance Inspired Cinderella Gown for a doll, part 3: finished gown

(This post is about making the gown, this post is about the chemise of the outfit.)

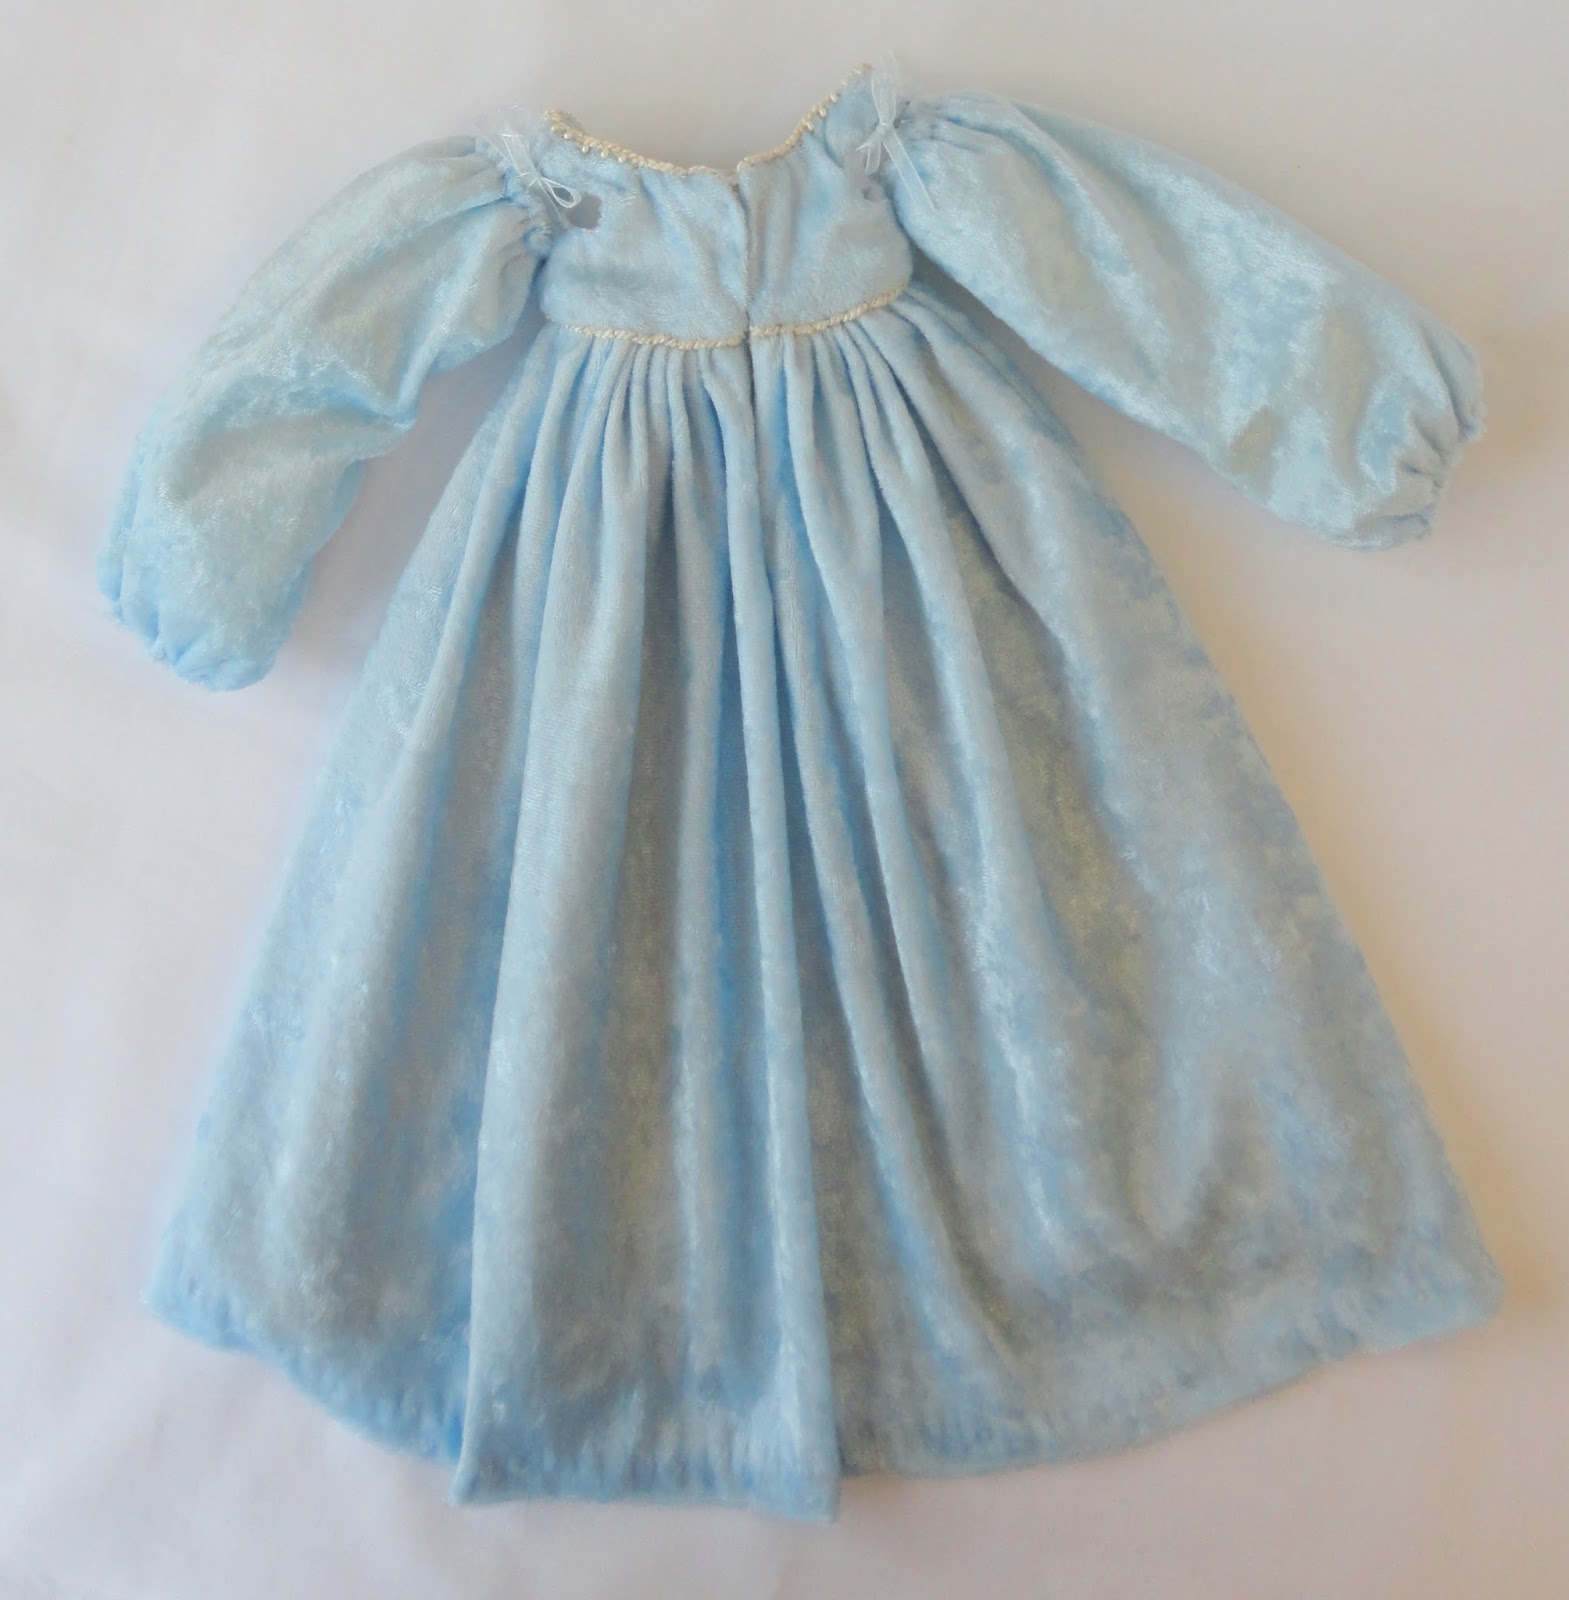
Huge sleeves and a tiny-tiny train. Well, it's more like an overlong hem in the back. Well, aren't overlong hems called trains? Or is there a particular measurement that defines when it is a train and when it is an overlong hem?

I replaced the light blue organza ribbons of the sleeves with cream-yellow silk ribbons. And I took photos with the silk ribbons. But I can't find those photos...

The front part of the skirt is made from silk taffeta. All hems (and many seams) of this costume are hand stitched. Hand stitches are not as even as machine stitches (at leas my hand stitches are not), but I like the overall image of hand stitched (period) doll clothes. The image is kind of soft.

The front piece of the skirt is lined.

There is quite a lot of fabric in the back.

Synthetic velvet is not easy to handle (at least for me), but its softness is a good thing when you are sewing doll clothes. As you can see, it drapes beautifully.

I say this hook and eye closing is quite invisible! Yay!

The bodice part of the dress is lined with cotton.

Here you can almost see that the sleeves are lined also. Because of lining, the sleeves are very puff, not flat.

Tiny rings on shoulders and sleeves are for attaching sleeves to the bodice.

Next I'll post photos of my drama queen doll, Flavia, with this dress!