Sivut

Wednesday, 2 May 2018

Renaissance Inspired Cinderella Gown for a doll, part 1: sewing the gown

When Flavia (a Helen Kish doll) arrived, I decided immediately to sew her a Cinderella gown. And not any Cinderella gown, but a Disney Style Renaissance Inspired Cinderella Gown. I wanted to recreate this:

It's not a triumph of sewing skills, but it's one of my favourite, because it's one of my (rare) impulsive sewing projects. I remember that I was a bit down and decided to help myself with a sewingtherapy. I wanted to make something bling-bling in Disney princess style. I sewed the dress very quickly from materials I had at hand and did it without patterns and made all choices spontaneously. It was an accident that finished dress looked a bit like Renaissance gown. Because it was blue, it was of course Cinderella's dress. So. I named it Disney Style Renaissance Inspired Cinderella Gown :D

And now. Pictures about making Flavia's gown.

As you can see, the bodice pattern is Very Simple. First I sewed a golden net (yes, I know, of course it's not golden) and then added tiny pearls (yes, not pearls).

 (Very first thing to do was a chemise. I'll post pictures of it later.) Here is going on some fitting.

Next thing was to make tiny rings for attaching sleeves to the bodice. I sewed rings onto shoulder hem.

 Then some ribbon. As you can see, the tiny rings are hiding there on shoulders.

 Closeup.

And fitting just for fun.

 It looks a dress already!

But there is still lot to do.

Like gold thread and pearl embroidery (yes, again, not gold  and pearls). After embroidering I sewed a lining on this front part of skirt.

 If you look carefully, you can see that at this point I have sewed ribbon also to the waist.

This picture is here because Astrid is so CUTE.

And finally, the sleeves. I sewed lining on them. And attached tinyt rings on the shoulder-end of the sleeves.

Here you are! Two Cinderella's Renaissance Inspired Gowns!


P. S. There will be plenty of more pictures of the finished gown in an other post!


Tuesday, 17 April 2018

Cinderella rags for a doll means a lot of dyeing and washing

Part 1. Cinderella's shift.

Princesses in rags have always holded a special place in my heart. The queen of rags is of course Cinderella (Snow White holds the second place). About thirty years I have been thinking of sewing Cinderella rags for a doll.  And now, after all that thinking, I'm finally sewing them. And it's fun!

You must always use every opportunity to draw Cinderella with rags. That is a rule. So it would have been illegal to begin to sew this oufit without drawing it first. (I may have drawn more rags than ball gowns!)

After drawing I chose the fabrics and made a test dyeing with tea.

Then I coloured my Cinderella drawing. (This is a detail from a scrapbook spread. Here you can see the whole picture which includes some cats and an other Cinderella figure.) After colouring the drawing, some viruses and bacteria decided that after 30 years of planning I'm progressing too fast. So I had a three weeks break from the project. Instead of sewing I used my time coughing and blowing.

After viruses had said goodbye, I begin to dye the fabric for Cinderella's shift. After dyeing I washed it properly (three times!), because I don't want to take any risk that the fabric would let some colour out so that a doll would get ruined.

 At this point I made some extra stains.

And then washing again. It was fun! I wish all laundering  could be that nice.

Because of all the proper laundering, the extra spots washed away almost totally. But all the washing (and sandpapering and filing) made the fabric look quite worn, and that is the most important thing. As you can see, the shift really looks worn when you compare it to that white batiste, which is the material of the shirt.

And here you can see also that the contrast between white batiste and dyed batiste is quite clear.

And here you can see the finished shirt.

 Cinderella's shift really looks worn! When I asked my husband what he thinks about this shift, he cried out (yes, he really cried out): "Poor Cinderella! Is this fair at all?" I remined him that it's only a temporay situation, that the fairy godmother is on her way already. He was reliefed :)


Friday, 13 April 2018

My precious! Hand painted Helen Kish Doll. And it's all mine!


The day when she arrived was a beautiful (...and cold) winter day, so my walk to a post office and back was like a part of celebrating the happy family event.

Back home I was really really excited about this view. I don't often receive packages from overseas. Actually I could say that I never receive packages from overseas.

At this point I was super excited.

At this point I was like multiple-super-extra-double excited.

At this point I was more than overjoyed.

At this point I was in love.

We all were very tired after all those emotions, so we took a nap together.

After a proper rest it was time to intorduce her to the girls. I was really proud of them all. The girls gave her a warm welcome, and the newcomer was outgoing and cheery despite her long travel!


Tuesday, 3 April 2018

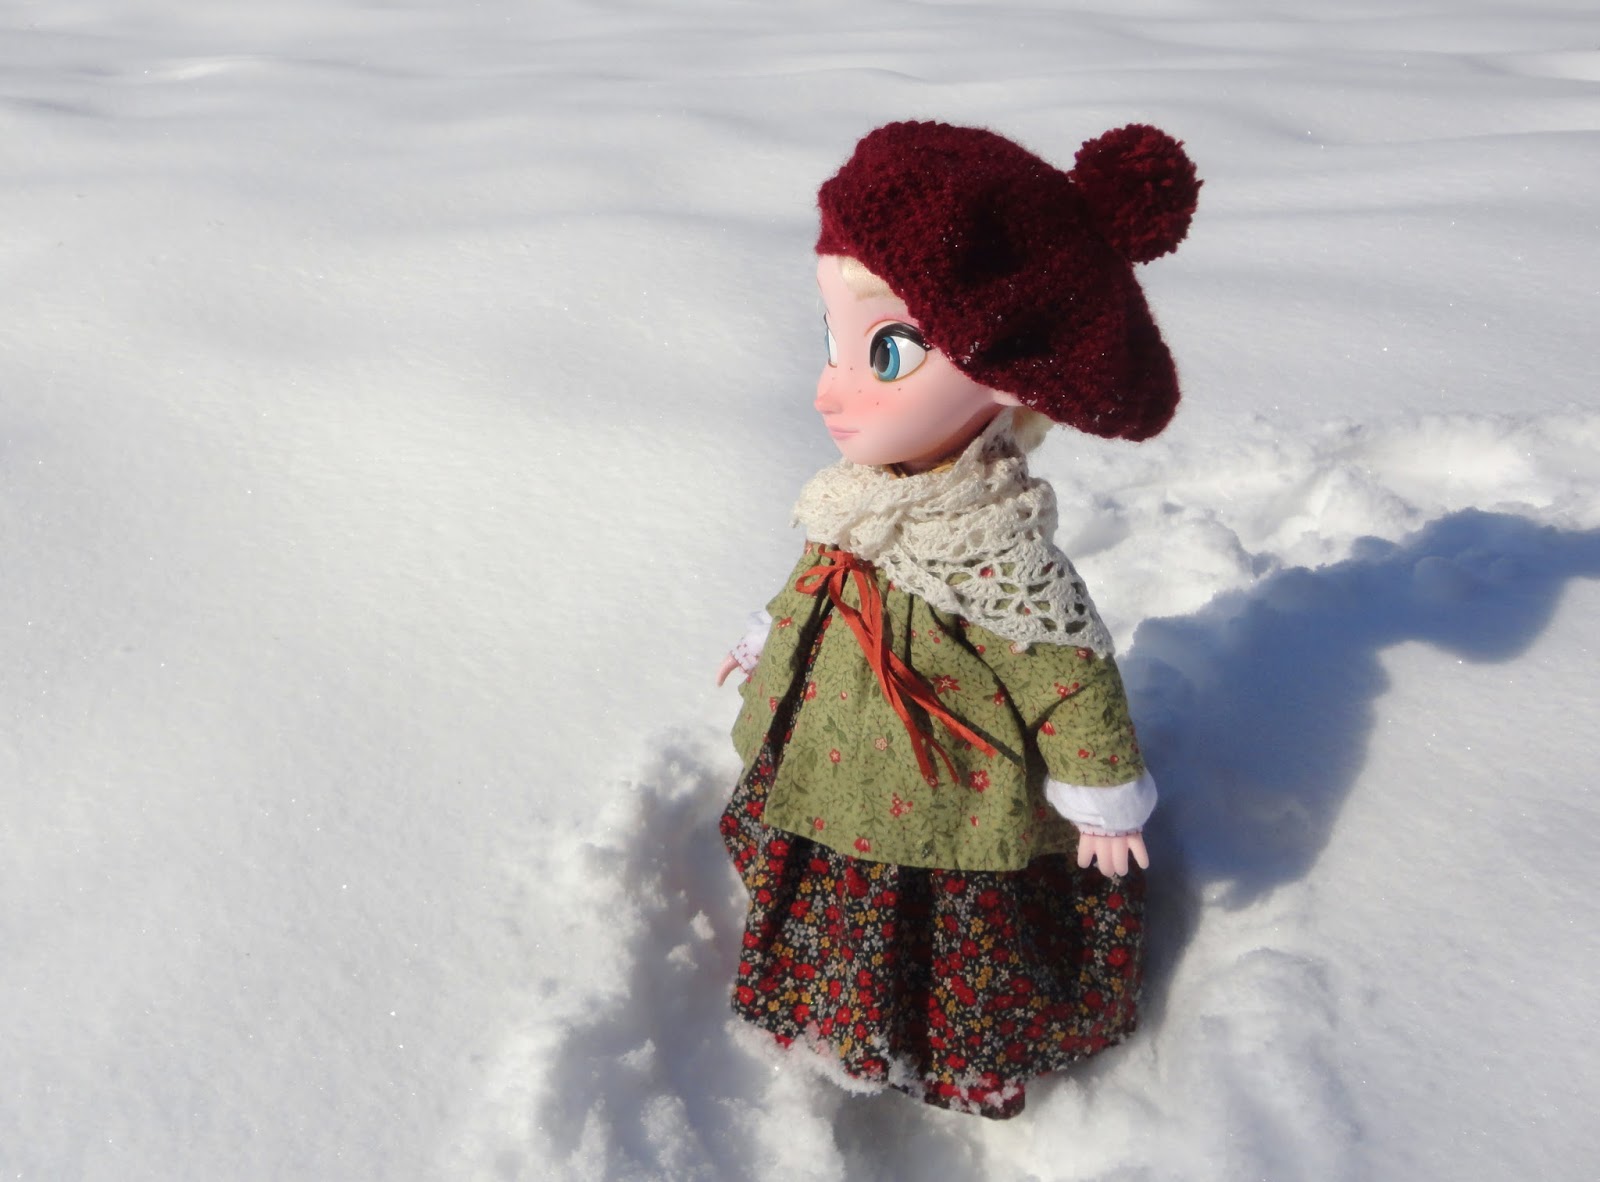
Doll's snowy spring walk

Somehow she seems to be ok with snow.

A lovely hat and a beautiful scarf are crocheted by my sister.

It looks and feels like spring! (She shares my opinion.)

Watch out there! You are not Heidi! (And these are not the Alps, answers she. What a cheeky girl.)


Friday, 9 March 2018

18th century short jacket (pierrot) for a doll


This is one of my favourite outfits. Maybe it is because of jacket's lovely silk ribbons (this was first time for me to use silk ribbon in my sewing) or maybe it is because of that jacket's white and fresh lining. Or maybe it is just because the jacket is cute. But. Anyway. Here is many pictures of the outfit.

I don't know the English name of that instrument, but it's a lovely tool.

I have sewed a lining to all period costume bodice parts, but in this jacket the lining is.. I don't know. It is just sweet.

I remember that I got a feeling that I need more sharp pins. I don't understand how pins always become unsharp. (Those pins in the picture are sharp ones, but the rest 200 are not. I made a sorting.)

It's quite nice. But I don't like those wrinkles near armpits. Partly the probem is with too light fabrics, and partly with stays: I have an other pair of stays, and the jacket fits better with them. And I made a dress with same bodice pattern, and there is not as visible wrinkles in that dress as there is in this jacket. But the dress is made of linen, and it's lining is heavy cotton.

I think the profile of this outfit is... perky?

She looks like she has a happy happy tail.

I have sewn doll clothes not so many years. Ok, I did try it as a kid, but I and sewing machine didn't get along. Somehow it flattened my spirit and for many years I thought that I'm rubbish with sewing and stuff like that (so I let my elder sister to do all sewing). But about... oh! already! seven! years ago I gave an other chance for sewing. I borrowed my granny's sewing machine, and it worked like a dream and I begin to feel like a champion, and here we are. I'm not a brilliant seamstress (and I can't sew anything for humans), but I may say I have learned a lot. (These days I mostly stitch by hand. It wasn't possible past days because my hands ((joints)) were almost always inflamed, but luckily I got help for them, because nowadays my brains doesn't like the noice and resonance of a sewing machine, and a sewing machine has too many moving parts, so it's a quite wearing machine. Hand stitching is so wonderfully calming and silent and slow!)

Sorry, I get lost. I meant to tell, that I have sewn doll clothes now about seven years, and after about two years I got enlightened and I understood the Importance of the Undergarments. That's why some of my doll outfits take a pit of time to put on. Here is an example:


Chemise.

Stays.

Bum roll.

Petticoat and pocket.

This time I forget an other petticoat, but here is an older picture where you can see it. At least a quarter inch of it.

Skirt, jacket, apron and fichu (I forgot her false sleeves), and job is done. It takes easily 20 - 30 minutes to put that all on. But I admit, I'm quite pedantic.

Here you can see her false sleeves.

And then just some more photos.

These last four pictures are taken with my sister's camera. Oh, I miss it so much! (I miss my sister also!)

Silk ribbons!!!